

For those of us who live in the states, this is the first official week of Daylight Savings Time (DST). Depending on who you ask, people either love or hate this yearly ritual of moving our clocks ahead one hour each spring. For some people, the loss of that one little hour of sleep wrecks havoc on their circadian rhythm. Even though this process is supposedly harder on night owls like me, I would keep our clocks on perpetual forward because I enjoy having more hours of sunshine and I hate that it gets dark at five o'clock when we "fall back" one hour in November. Given that I'm in favor of "spring forward", I dutifully (and eagerly) moved our clocks ahead one hour anticipating longer days filled with sunshine and warmth. Goodbye winter! Oh how I look forward to the sunny days and warmer temps - the humidity, not so much. Boy does it do a number on my hair! Unfortunately, it happens to be a very cloud-filled day in my neck of the woods so I'll have to wait a little longer for those sunshiny days. No worries - a day indoors gives me a great opportunity to share an organizing project I completed in early February - our Family Command Center.

As a busy family of four (five if you include the dog), I generally keep track of our hectic schedules of sports, school, travel, and work on my iPhone calender. It works beautifully if I remember to input the event. Being a very visual hands-on person, I really missed having a calendar on the wall which the whole family could easily refer to and quickly add events. I also wanted a spot where I could display party invitations, upcoming appointment reminders, photos, and school notices. So that was the inspiration for this project.
Our Family Command Center includes three components:
Our Family Command Center includes three components:
- Burlap Memo Board
- Two-month Perpetual Calendar
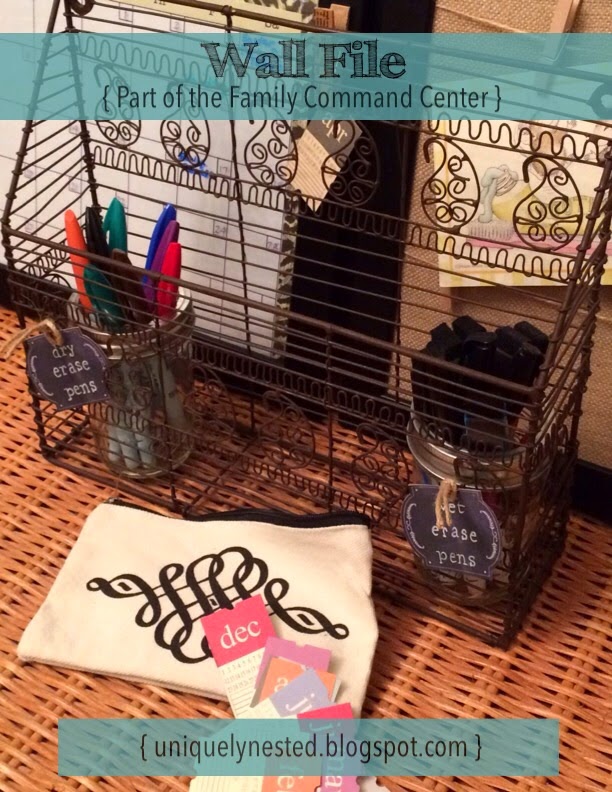
- Wall File

Here's how it looks hanging on the wall. It's a convenient location for us because it's very accessible in a short "hallway" as we enter the house from the garage. I walk past it mutiple times per day so it's easy to add or check monthly events.

For the Two-Month Perpetual Calendar, I used the same style picture frame (14" x 18") as the memo board. I removed backing and covered it with a leopard print wrapping paper I had on hand. You could use any wrapping paper (small scale pattern works best) or even a light weight fabric. I liked how the leopard pattern coordinated with my existing decor. I printed two blank calendars onto white card stock trimming to edge of calendar. I positioned calendars on top of covered backing adhering with scrapbook adhesive. You could even use a fun washi tape. I cleaned the protective glass and reinserted the now calendar-covered backing. Using a wet erase marker (which come in a wide variety of colors) to write directly onto the glass front, I filled in the dates for those two particular months. I prefer using wet erase markers versus dry erase because they don't easily smear. To indicate the months, I hot glued a decorative clothespin to top left edge of frame (for top calendar) and glued another decorative clothespin to middle edge of frame (for bottom calendar). I found cute month tags in the scrapbooking section.

To hang the the calendar and memo board, I attached decorative hooks to the wall. For "hangers" on the picture frames, I tied a length of decorative rope to each frame. The rope hanger easily slips onto the wall hook and you can just as easily remove the calendar for updating events.


The great thing about this project is that you can easily find the supplies at your local craft store. You can also choose a fun paper or fabric backing and unique frame to personalize your project. My frames are black in a clean simple style. You may want to use intricately carved frames or even reclaimed wood frames. The possibilities are endless. I could easily see the project in a teen girl's room to coordinate with her bedding and decor.

Cute little monthly tags and decorative clothespins can be found in the scrapbooking section of your local craft store. If I had space I would actually do three frames - two perpetual calenders with the memo board in the middle or the reverse with two memo boards on the outside with one perpetual calendar in the middle.

Similar calendar systems can be purchased at stores like Ballard Designs and Pottery Barn but they cost an arm and a leg. I've actually drooled over said systems as I purused the glossy pages of my PB catalog. The burlap message board (15' x 20') from Ballard cost a whopping $49. My Burlap Memo Board is slightly smaller but cost roughly $15 to make because I found my frames and burlap canvas on sale. For the Daily System by Pottery Barn, it would cost over $200 for a system like the one I created. My family command center cost less than $50. I don't know about you but I like the idea of saving $150.
Check your local craft stores for sales on picture frames and the burlap canvas. Michaels and Hobby Lobby always have a 40% off coupon out there as well. I found my wall file in a clearance section. It's a fun and easy project to complete. It cost nothing to study catalogs, magazines, and Pinterest for inspiration. I just wasn't willing to give up any appendages or take out a loan to create a command center that worked for our family. I created ours for a fraction of the cost. You can too!
No comments:
Post a Comment